In January, I started a new job writing and producing technical education videos. I was supposed to record these videos in a studio in Mountain View, California, but COVID-19 had other plans.
So, for the past six months, I’ve had to learn how to record professional audio and video from home, using an iPad Pro and iPhone 8. In this post, I cover the tools, apps, and techniques I use to get my job done.
The Script
Summary:
- Don’t use standard script format
- Do use two-column format
Whether you’re recording audio or video, a good recording starts with a good script. And the best script format for creating your Singing Success videos is not standard screenplay format.
101 INT. BROOKLYN APARTMENT
A CIGARETTE - slowly burns in an ashtray.
WOMAN'S VOICEYou want to learn how to sing? How to REALLY sing? First, you're gonna take all your singing books. Gather them up. Now throw them in the fucking trash.
No. Two-column format is best. This is a great format for writing documentary, training, and business videos. It looks like this.
| Visual | Dialogue |
|---|---|
| Speaker. Looking into camera. | Hey! Welcome to Singing Success. Let’s start with some basic warm-up exercises. |
What’s great about the format is the “Visual” column. When you plan a scene with an animation, screenshot, or slide, you’ll describe exactly what that should look like in the “Visual” column.
If you’re writing scripts on an iPad, any text editor app that supports tables will do. I recommend against using a Markdown editor – what you want is a visual table layout, and any word processor will do the trick.
At work, we use Google Docs for this. The iPad and iPhone apps suck, and in general using the web app on an iPad also sucks, but the Google Docs collaborative editing features are the best.
Equipment
Summary:
- iPhone 8 or SE can shoot 4K video
- USB cardioid mic
- Lavalier (AKA “lapel”) mic
- Soft box lighting kit OR a ring light
- Lightning to USB adapter
- Lightning to 3.5 mm adapter
- Tripod
The Camera
You can probably shoot high-quality video and audio with the phone you already own. The iPhone 8 and latest SE models can shoot 4K video, which is what you want.
If you have an iPad Pro from 2017 onward, it can also shoot in 4K.
You want to shoot 4K so you can zoom in during edits. But really, if you can’t shoot in 4K, you can still make good 1080p videos.
The Mics
For recording audio, you want two mics. The first is a cardioid condenser mic. People often use this type of mic to record voice-overs and podcasts. This is the mic I use.
Why a USB mic? These mics requires external power, and if it isn’t USB it’s probably XLR, which uses something called “phantom power.” As you might expect, this phantom power lives in the realm of audio nerds, and ordinary people should stick with USB.
You’ll use the cardioid mic for pure voice-over work, in which you record dialogue over animations, screen captures, slides, and the like.
The other mic you want is a Lavalier mic.
Why is it called a “Lavalier” mic?
According to Wikipedia, this term originally referred to neck jewelry. Its use to describe microphones dates back to the 1930s, when product designers tried hanging microphones around people’s necks. As they do.

Now we clip them to our lapels.
I use the Lav mic while recording video because it picks up less background noise than the condenser mic. That means it works better my garage, which is right next to the house with the children who scream all day.
The condenser mic, on the other hand, sounds great but is so sensitive that to record with it, I have to crawl into a 100-degree-hot, pitch-black crawl space in my attic, stuffed with foam padding and blankets, and wait for the lawnmowers outside to stop.
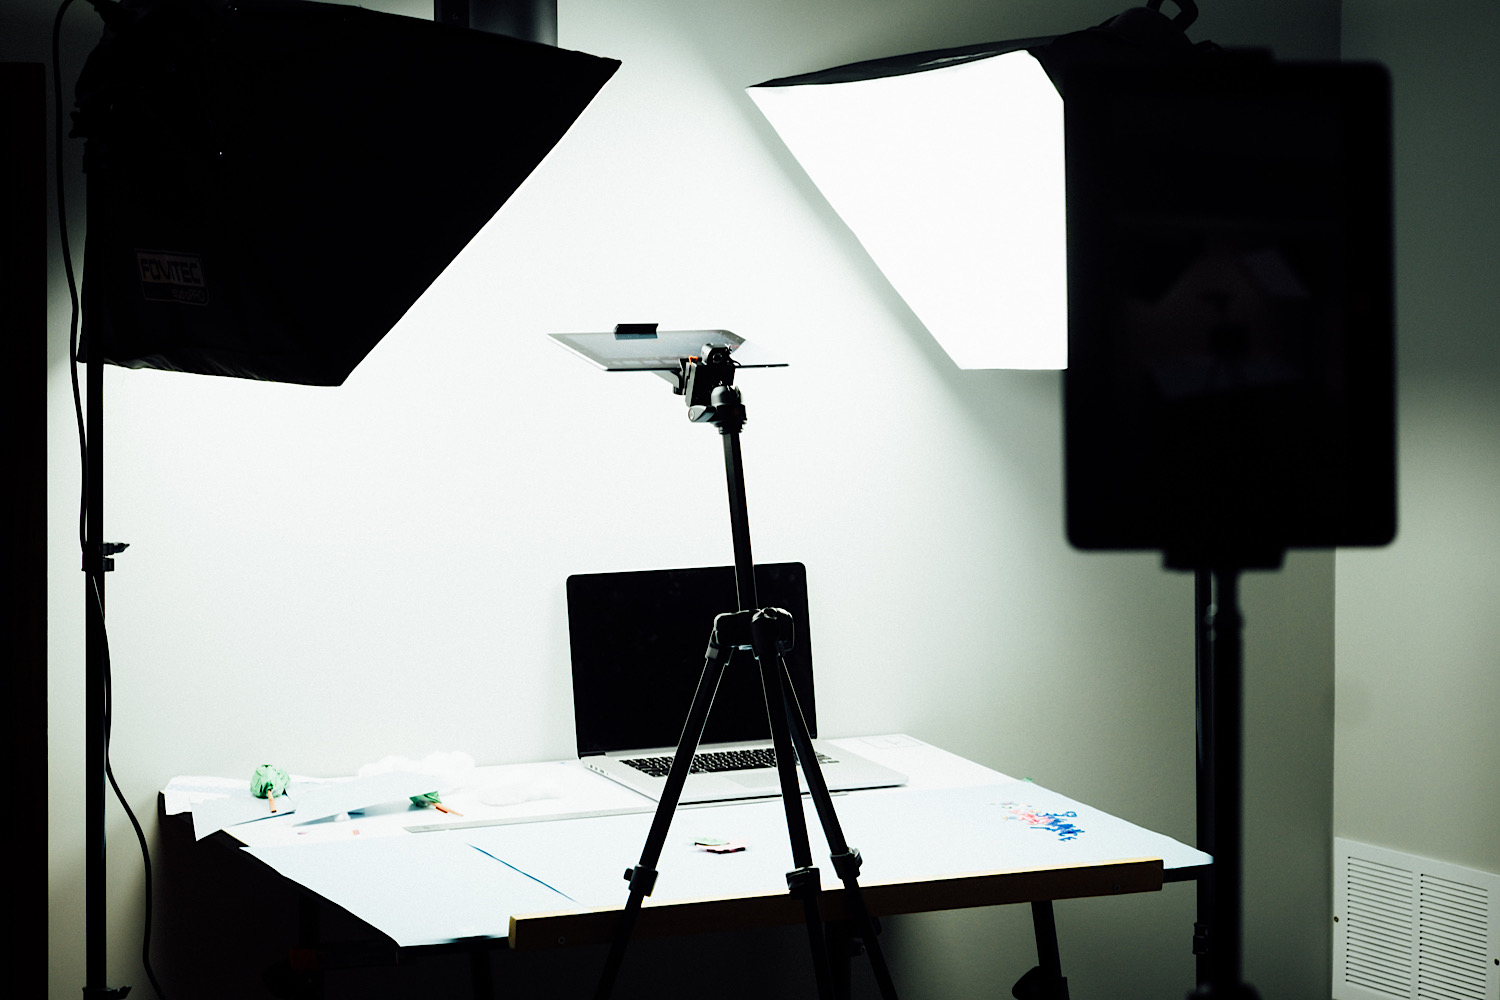
Lighting
Let’s move on to lighting. For video, I film myself sitting at a desk in the garage, from a side angle. I turn off all the garage lights and turn on my “soft box” lights. The light feels too dark to my eyes but works on camera.
Here’s a random, low-quality screenshot of a frame of recent video.
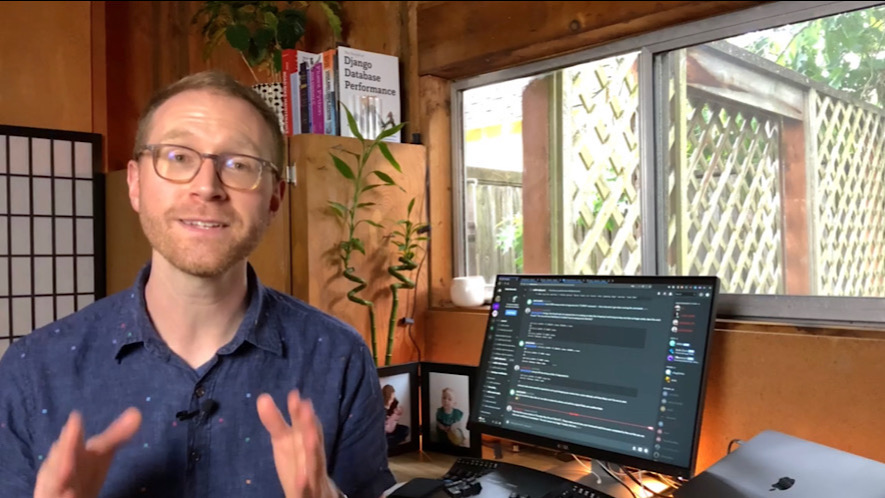
Soft box lights usually come in a kit like this one I use.
If, instead, you film head-on from a seated position at your desk, a “ring light” could probably work instead, and will take up less space. There’s a great video by Tim Berglund that has tips on basic lighting.
Other Random Crap
You are going to accumulate a lot of random crap. You should start the pile with some lightning adapters, because at the time of this writing, iPhones still use lightning connectors.
You want a lightning-to-USB adapter for your cardioid mic and a lightning-to-3.5-mm adapter for the Lav mic.
If you’re using a 2018-2020 iPad Pro for any of this, you want some USB-C adapters too.
You also need a tripod. The only one I’ve ever used is this one, which I bought because it was the tallest I could find. Probably any tripod would work.
Then because you’re using an iPhone or iPad to shoot, you need an adapter for the tripod.
My advice is to buy a dual-bracket mount, so that you can mount an iPhone and iPad on the same tripod. You’re going to position them close together so that when you read from a teleprompter app on one device, you’re looking near the camera on the other.
Here are the gadgets I use for this:
Apps
The thing that keeps me coming back to iPhones and iPads is the apps. And there are some great ones for recording and editing audio and video.
The app I use to record video is Filmic Pro. If you haven’t heard of this app, it’s what Sean Baker and Radium Cheung used to shoot the film Tangerine Dream. For what it’s worth, I’ve found the iOS version more stable than the Android version.
The best teleprompter app I’ve found is called – can you believe this? – Teleprompter. The UI is very polished, it syncs my scripts, and in general I love using it.
You can record voice-overs and do light editing in the Voice Memos app that comes with iOS. But for serious editing, you want to pick up either Hokusai 2 or Ferrite. I use both.
For editing video, I use LumaFusion. This is the area of video production that I’m leas familiar with, though – we have a video team who handles editing my work videos, and I’m sorry to say they do not use LumaFusion.
However! A lot of mobile journalists (“mojos”!) swear by LumaFusion, which is why I use it.
Techniques for Video
Here are some general tips and tricks I’ve picked up while recording video at home this year.
Lighting is important. Watch that Tim Berglund video I linked earlier. At the very least, turn off any overhead lights. Try to get near a window or use a ring or soft box light.
Ditch the green screen. Have you seen all the people who slap a background behind themselves in video chat lately? One of the reasons they all look so bad – aside from occasionally liquefying into the background – is that the lighting in the foreground never matches the background. At least, that’s what the video team I work with says, and I believe them. We’ve had success with using real-life props, like my garage.
Shoot in 4K so you can zoom in. I mentioned this earlier, but you should shoot with 4K so you can zoom in during a frame while editing. This is another tip from the video team.
Use a teleprompter app. It’s great when a YouTube video is totally unscripted, and the presenter just nails it. More often, though, unscripted video is just rambly and bad. It’s up to you, but my advice is to write scripts and read them at a fast pace from a teleprompter. If you rehearse, it can come out sounding natural enough.
Read your script on the iPhone, record on the iPad. If you have a newer iPad and an older iPhone, use the iPad video. Load your script into a teleprompter app on the iPhone. I shot several videos like this because the camera on the 2020 iPad Pro is better than my iPhone 8. It worked fine – even though the iPhone screen is tiny by comparison.
Techniques for Audio
Add padding to the room. But not too much. Too many hard surfaces in the room in which you record give the audio a tinny quality. You can fix this by hanging up some blankets and padding, but if you hang too many, you’ll have the opposite problem, which is muddy audio. You’ll want to experiment with different rooms and padding arrangements.
You won’t get silence at home. Thanks to COVID-19, there are two kids and two adults in my house all day, every day, and at least one kid and one adult is screaming and/or crying every second. And that’s on top of the lawnmowers, airplanes, cars, cats, trampolines, firecrackers, garbage trucks, leaf blowers, and other insane noises in the neighborhood. You aren’t going to get silence, so don’t even try.
Read your script from the iPad, record on the iPhone. For voice-overs, I use a recording setup opposite my video setup. Because I’m not using the camera, I prop the iPad up with my script and record audio into my iPhone.
You Got This
Want to record professional-quality audio or video from home? Or do you just, you know, have to now?
You can totally do it. Get some equipment, load up a few apps, and start trying out lighting setups. You got this!
Banner photo by Dose Media.


